

Today’s class will meet in the digital lab and complete our final projects using Sway. Students will then create one final blog post to showcase their Sway.
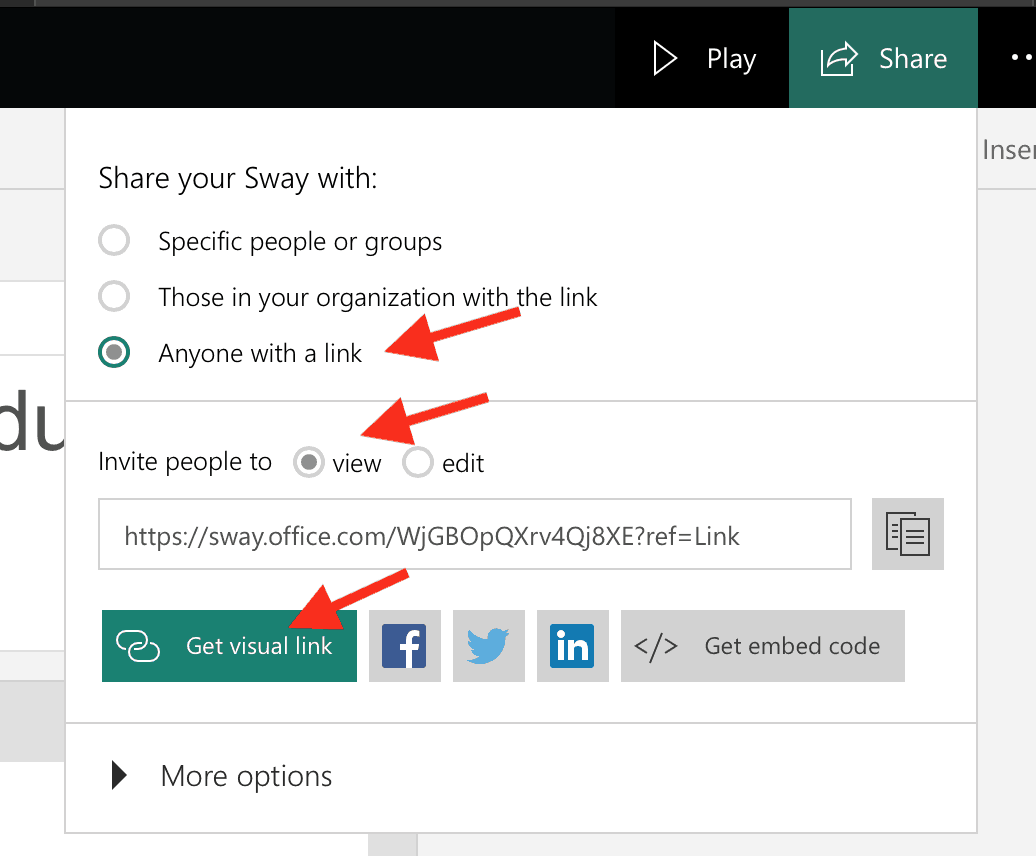
This final post should have a catchy title, featured image, brief intro to their lesson and use Sway’s “Visual Link” to to provide a connection to their Sway lesson from the post. See example of Peter’s Sway capture here.
Note: after you click “Get Visual Link” you will have the entire visual link (image and text) on your clipboard. Just create an insertion point on your new blog post and paste. You will see the image thumbnail and text. The visual link will simply capture the beginning text of your Sway. You can edit that once it’s been inserted into the new blog post.
A few more Sway housekeeping items.
1. Make sure you have properly cited all content in your Sway. Could be done right at the doc or as endnote list.
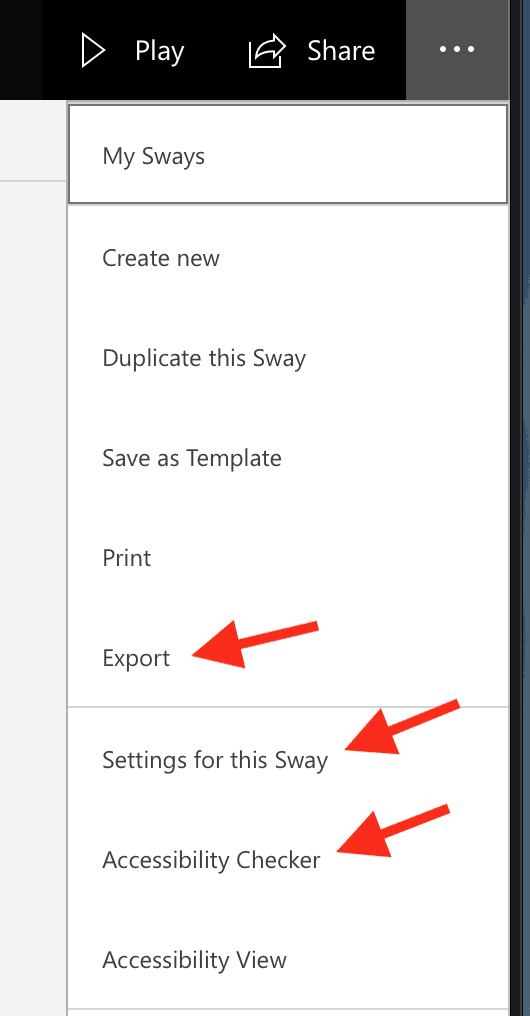
2. When you are finished, export your Sway as a PDF and upload to TaskStream for your final assessment.
3. Check the settings for the Sway and make sure you agree with them.
4. Use the “Accessibility Checker” to see what accommodations can be made. For example: identifying hyperlinks and providing visually impaired visitors alternative text for images.
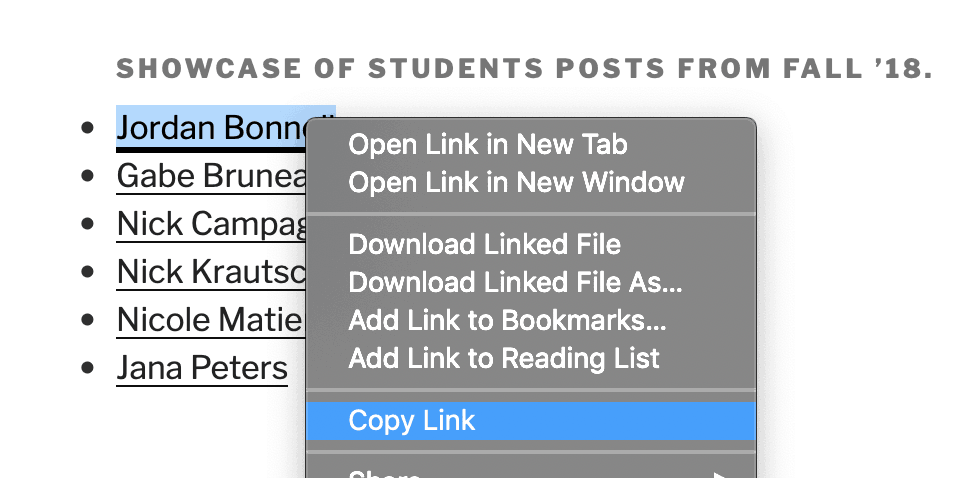
4. Be sure your Sway includes “Lesson Designed by your name” and has a hyperlink back to the your author listing. The link is on the “Student Roster” Page. A “Control” or right click will get you the link to all your posts. (18A-1 through 18-A10)
END OF SEMESTER CHECKLIST
- Complete course assessment at SmartEvals
- All blog posts completed – see list here. You should have completed 10 – including the final “Sway” post.
- Create a PDF version of Sway and upload to TaskStream for final assessment.