Class 2: Curating Historical Content

Today’s class will focus on finding and curating historical content – in this case images. Students will share their search tips for using our historical archive resources. Our focus will be on sourcing material that is in public domain.

Most materials are in the public domain if they were produced before 1923. I see this as roughly equivalent to everything that happened in the world up to and including World War I! If you’re looking for newspaper articles in Chronicling America, for example, you will note that coverage ends in 1922. 

Primary sources produced by the federal government are normally in the public domain both before and after the magic copyright date of 1923. That explains why we as teachers can use the fabulous oral history interviews of former slaves collected between 1936 and 1938 by workers from the Federal Writers’ Project.


Assignment 2 | Posts 19-A2
Task 1: Image detectives (inspired by Crop It lesson)

Being able to find and curate historical source material is a foundation of historical thinking. This activity merges three Instuctional goals: finding / curating historical sources, looking closely at historical sources and using WordPress tools to add images and hyperlinks. It will help students learn how to find material for future lesson design activities.

  1. find 3 historical images
  2. for each image: provide full image with citation in hyperlink back to source
  3. then add a of crop area of each image to show one of the following clues (add clue in the image caption) Tips on how to crop an image
  4. Put all content into a post. Give it a clever title. Include a featured image.
  • who or what this image is about.
  • where this takes place.
  • when this happened or was created.
  • what is the creator’s point of view or purpose.
  • something I have a question about

Example: Image with two crops
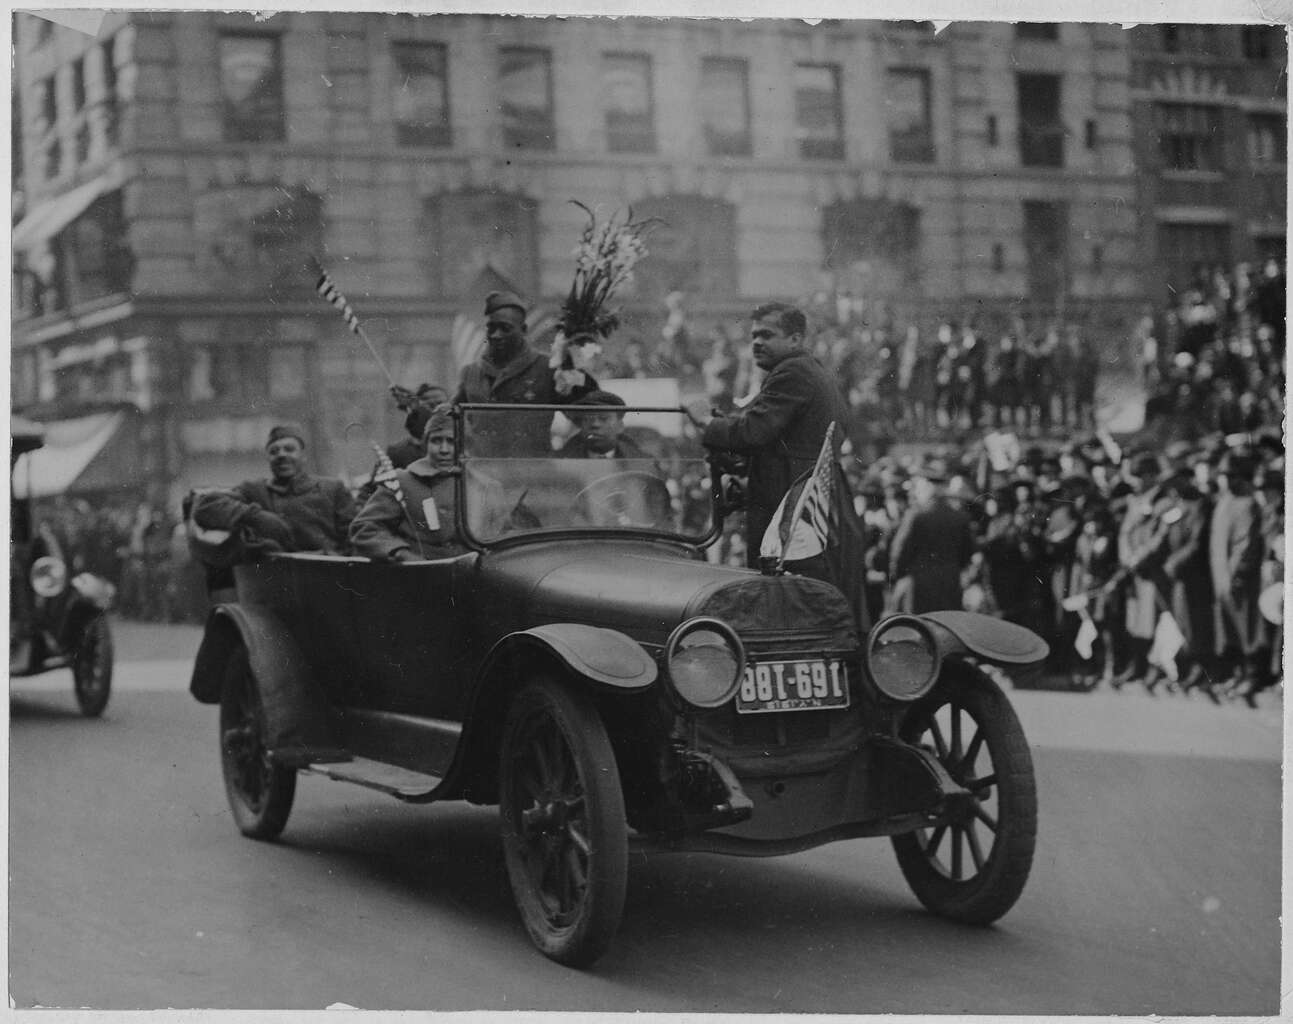
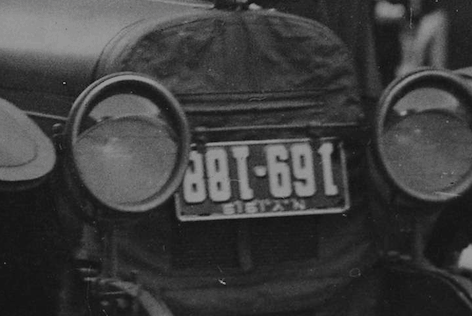
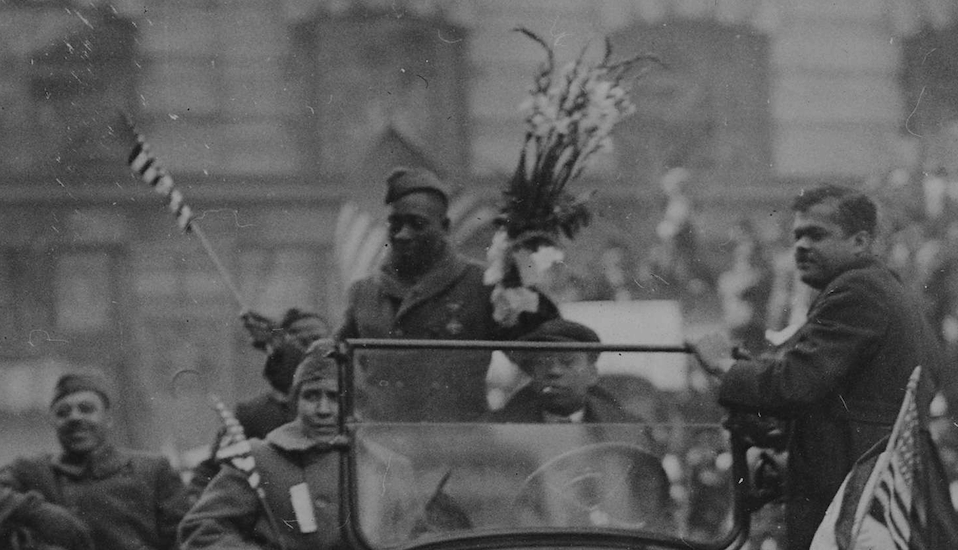
African American Soldiers in an Automobile Source
When? It’s an upside down 1919 NYS license plate. I think they are returning Black WWI soldiers in a parade.
These Black soldiers are being honored in a parade. Knowing 1919 is in the Jim Crow / KKK era, I wonder what else faced them back in America?

In class practice images. Choose one. Add to a sample post. Include source hyperlink and crop with comment.

  1. Smartly dressed couple seated on an 1886-model bicycle for two 1886. Source
  2. The 8th Avenue trolley, NYC, sharing the street with horse-drawn produce wagon and an open automobile 1904 Source
  3. Automobile helped through sandy wash onto mesa 1911. Source
  4. Women’s Machine Gun Squad Police Reserves, New York City 1918 Source

Task 2: Introduction to historical thinking via SHEG

Class 1: Make a History Teacher Meme

Teach history

Here’s the flow of our first class  – a chance to get to know more about the course and try our hand at some low and high tech teaching tools.

  1. First task …  solve a Murder Mystery! (It’s how I opened my high school classes for years). Find lesson here.
  2. Next, we’ll discuss their vision of the “history teacher.” They will be invited to turn those ideas into memes using AdobeSpark Post.
  3. Peter will offer a  quick demo of AdobeSpark Post –  a great tool for creating striking title slides with public domain content.  See video below.
  4. Students will get a quick overview of WordPress. See video below and view our WordPress 5.0 Playlist
  5. While students are working, Peter will get each student logged into our WordPress account.
  6. Finally we’ll reflect on the first class and how the classroom workflow was designed and managed.

Assignment 1 | Posts 19A-1
Task 1: Create a meme and create your first blog post – an elaboration / explanation of your meme. Be sure to do your post by August 29th.

Students should be sure their post includes a featured image (the meme) made using  AdobeSpark. Use your meme from class or make a new one. Here’s some post prompts – feel free to use one or more for inspiration.

  • What makes for a good history teacher?
  • Why teach history?
  • What you see as your “models” for history teacher.
  • The challenges or opportunities of teaching history.
  • How were you taught history? Is that how you intend to teach?
Task 2: Students will be assigned one of the historical archive sites here. They will prepare a 5 minute introduction to the site to be presented to class on Sept 2. Presentation should include:
  1. How to use search functions in site
  2. How to download content
  3. How to find metadata for citation and hyperlink.
Task 3: Before our 9/2 class, comment on at least 2 student posts. It’s a conversation, not simply a … “nice job.”

How to use Adobe Spark Post
How to log into WordPress
How to write your first WordPress blog post

Exploring History Vol VI

Exploring History VI

Every semester students publish a collection of historical thinking skills lessons in a showcase. In prior years we used iBooks Author. This year we switched to Microsoft Sway.

Here’s our Fall 2018 showcase.

American Reactions to the Vietnam War 
by Nick Krautscheid

Ending WWII
by Nicole Matier

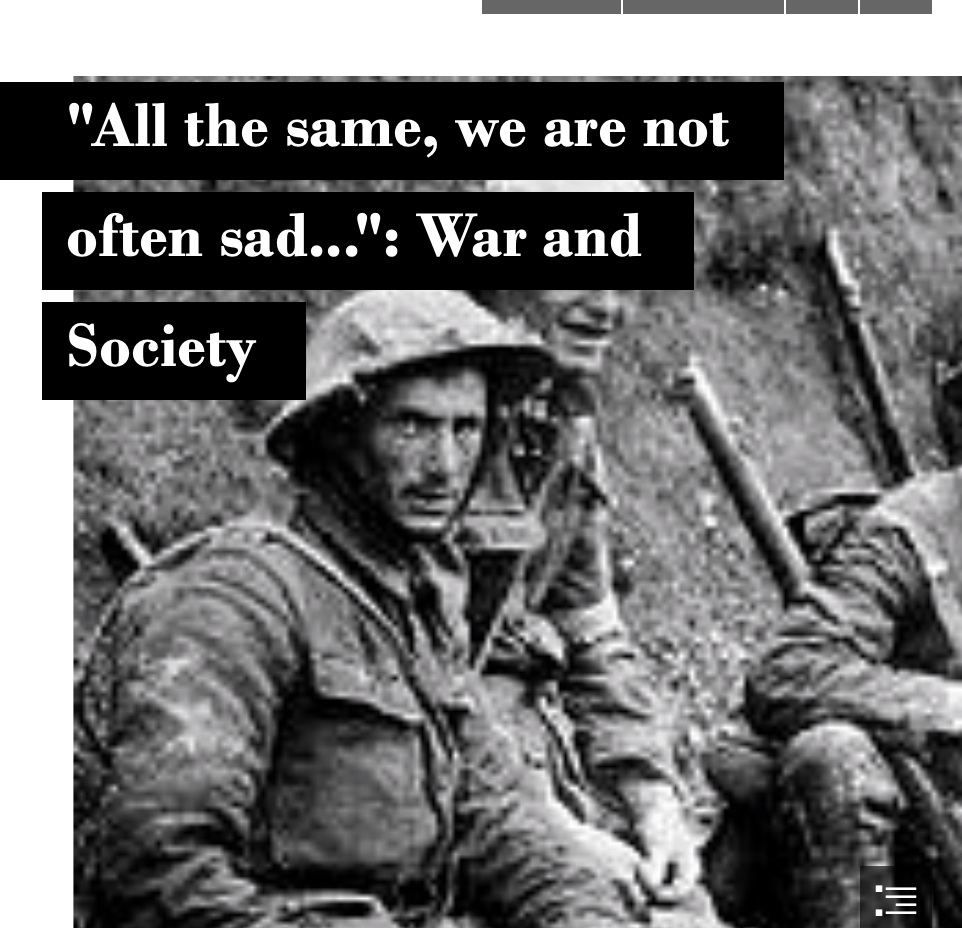
War and Society
by Gabriel Bruneau

Equality on the Front
by Jana Peters

Westward to Equality
by Jordan Bonnell

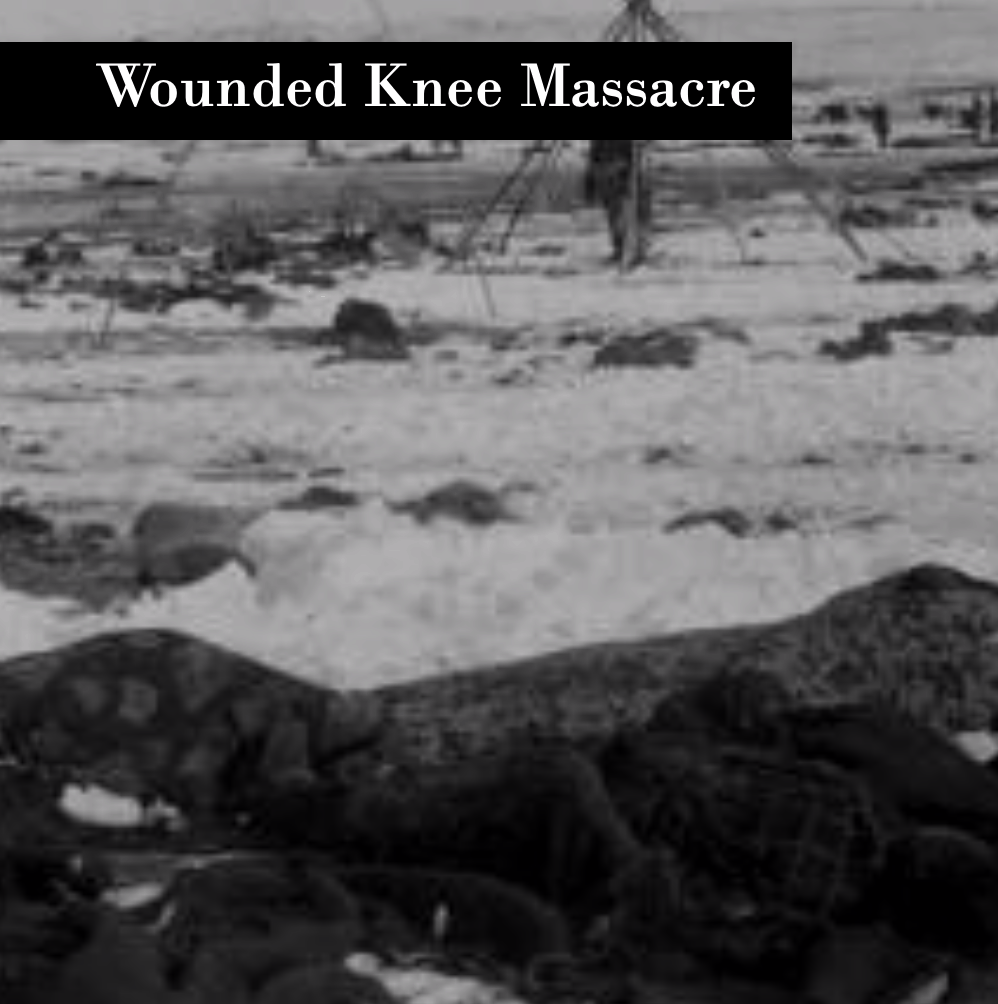
Wounded Knee Massacre
by Nick Campagna


Class 14: Course Wrap Up

Today’s class will meet in the digital lab and complete our final projects using Sway. Students will then create one final blog post to showcase their Sway.

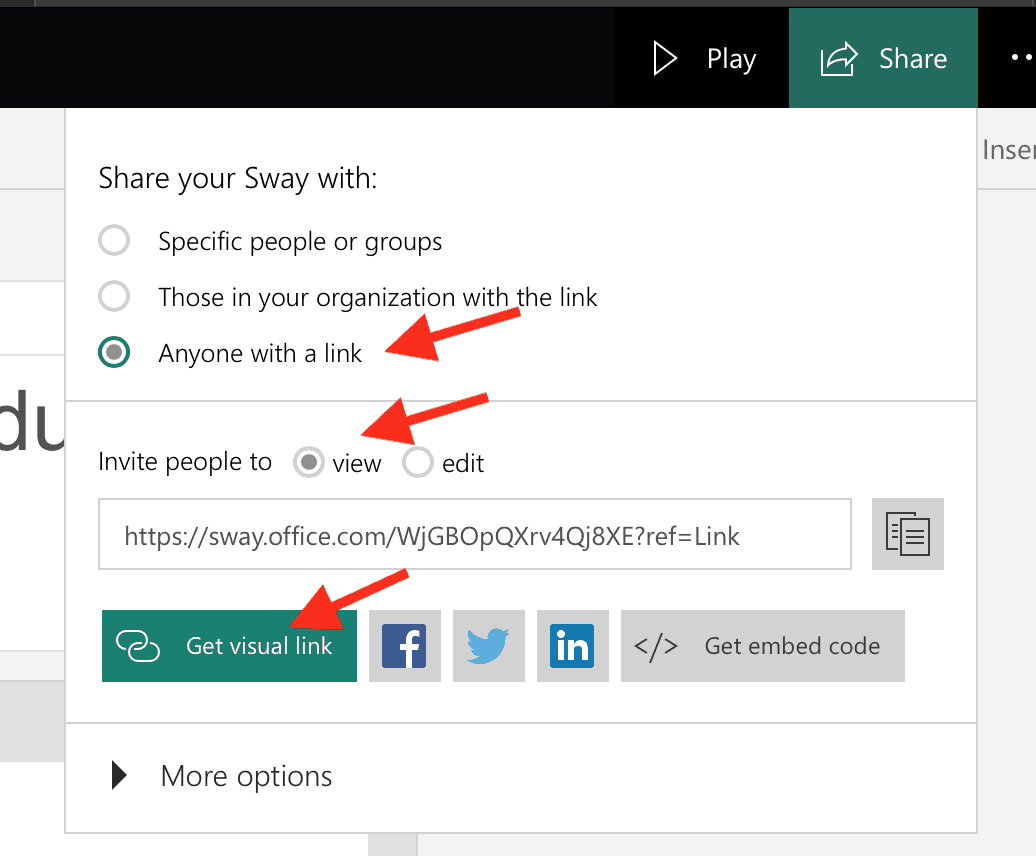
This final post should have a catchy title, featured image, brief intro to their lesson and use Sway’s “Visual Link” to to provide a connection to their Sway lesson from the post. See example of Peter’s Sway capture here.

Note: after you click “Get Visual Link” you will have the entire visual link (image and text)  on your clipboard. Just create an insertion point on your new blog post and paste. You will see the image thumbnail and text. The visual link will simply capture the beginning text of your Sway. You can edit that once it’s been inserted into the new blog post. 

Sway Visual link

A few more Sway housekeeping items.

1.  Make sure you have properly cited all content in your Sway. Could be done right at the doc or as endnote list.
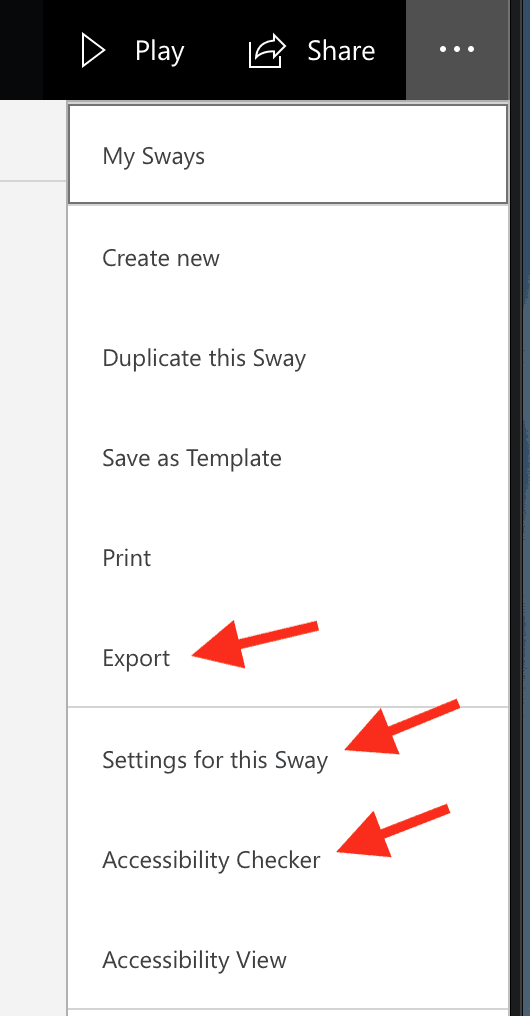
2. When you are finished, export your Sway as a PDF and upload to TaskStream for your final assessment.
3. Check the settings for the Sway and make sure you agree with them.
4. Use the “Accessibility Checker” to see what accommodations can be made.  For example: identifying hyperlinks and providing visually impaired visitors alternative text for images.  


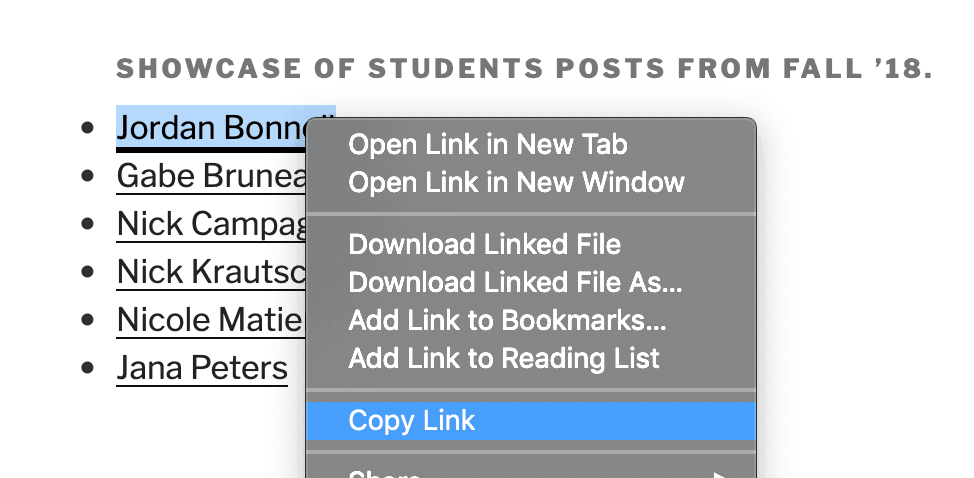
4. Be sure your Sway includes  “Lesson Designed by your name” and has a hyperlink back to the your author listing. The link is on the “Student Roster” Page. A “Control” or right click will get you the link to all your posts. (18A-1 through 18-A10)


END OF SEMESTER CHECKLIST
  1. Complete course assessment at SmartEvals
  2. All blog posts completed – see list here. You should have completed 10 – including the final “Sway” post.
  3. Create a PDF version of Sway and upload to TaskStream for final assessment.